THIS ARTICLE WAS ORIGINALLY PUBLISHED BY THE AUTHOR ON SHTFBLOG.COM
When it comes to SHTF long gun accessories, opinions vary wildly. However, there are two accessories that almost everyone agrees are absolutely essential: a good sling and a good weapon light. This article won’t help really at all to help you with a sling, but it will point you towards a dynamite new weapon light from Olight: the Odin Mini.

Olight has been dropping hot new lights on us for a few months now, and this new Odin Mini is my favorite of the lot so far. Odd analogy notwithstanding, The Olight Odin Mini reminds me of the muscle cars of the 60’s: sexy, sleek, mid-sized, and absolutely loaded with power. Let’s dig into the new Odin Mini to see how it can change the way you look at – and what you expect from – long gun mounted lights.
God of War
In Old Norse Mythology, Odin was the god of war and death. He had but one eye, as he sacrificed the other eye to be able to see all that happens in the world. Transferring the name of a war god to a weapon-mounted light has interesting connotations, but the plain and simple fact is that once you fire this puppy up in low-light conditions, you will truly be able to see all that’s happening in your world.
The compact Olight Odin Mini is but 4 ½ inches long and a mere one inch in body diameter, but this small package projects a 1,250 lumen, 14,400 candela beam of pure hot white love from its innards. By basis of comparison, the Surefire Scout – long the gold standard of long gun lights – puts out 1,000 lumens from a larger, far more expensive package. If pure bright bang for the buck is what you’re looking for, keep reading.
Awesomeness Is Standard Equipment
When you open up the lavishly designed Olight box (Derrick James and I have joked between ourselves that we get the lights to keep the boxes), you’ll be treated to a heady suite of included hardware; many of the products that Olight has chosen to include with the Odin Mini come at extensive additional cost from other manufacturers.
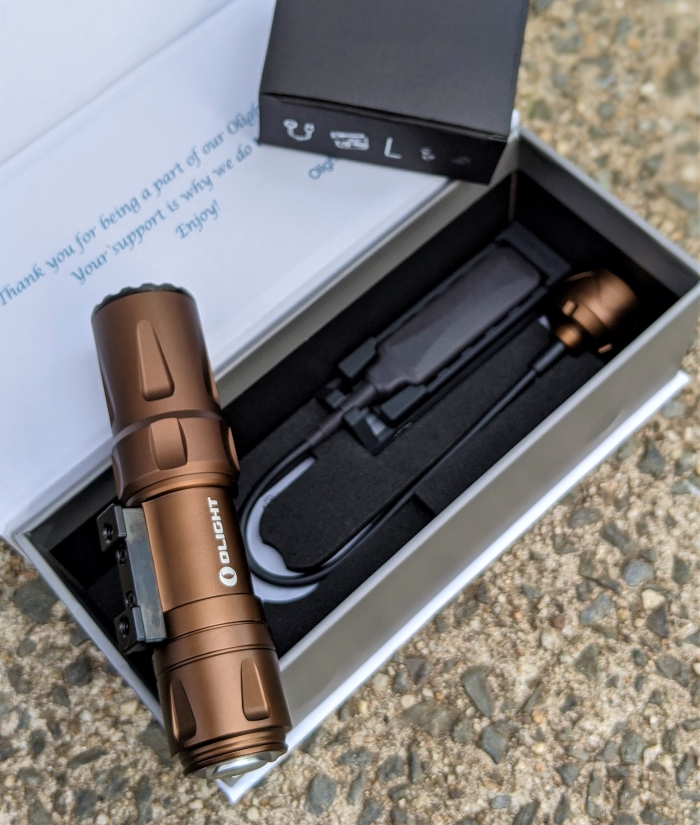
hen I first unboxed the Olight Odin Mini, the first item I immediately appreciated was the included tailcap pressure switch and its brilliant innovation; we’ll get into that in more depth shortly. The integral M-LOK offset mounting setup looked excellent, and the spare M-lock escutcheons and attachment screws that were provided are always a welcome addition. A small Allen wrench for tightening fasteners, and a recharging cable – one of Olight’s nifty magnetic MCC3 pieces – is included in the box. A pair of tiny cable ties for the pressure switch and multi-lingual instructions round out the inclusions. Let’s dig into each of these features separately, as most of them merit an individual look.
Tailcap Pressure Switch
https://overlandingsurvival.com/gear-review-olight-warrior-mini-best-edc-flashlight/The Olight Odin Mini operates just fine without the included tailcap pressure switch; it has a button on its magnetic base which operates as an on/off switch – a la pretty much any tactical flashlight. The button is identical in location and operation to our recently-reviewed Olight Warrior Mini EDC flashlight.
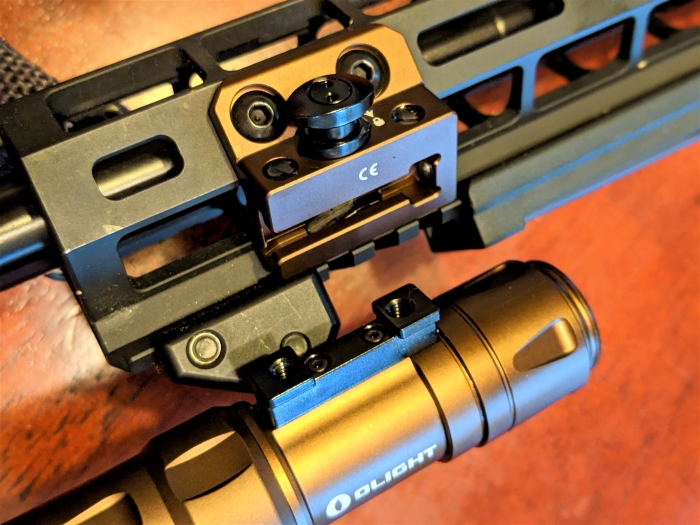
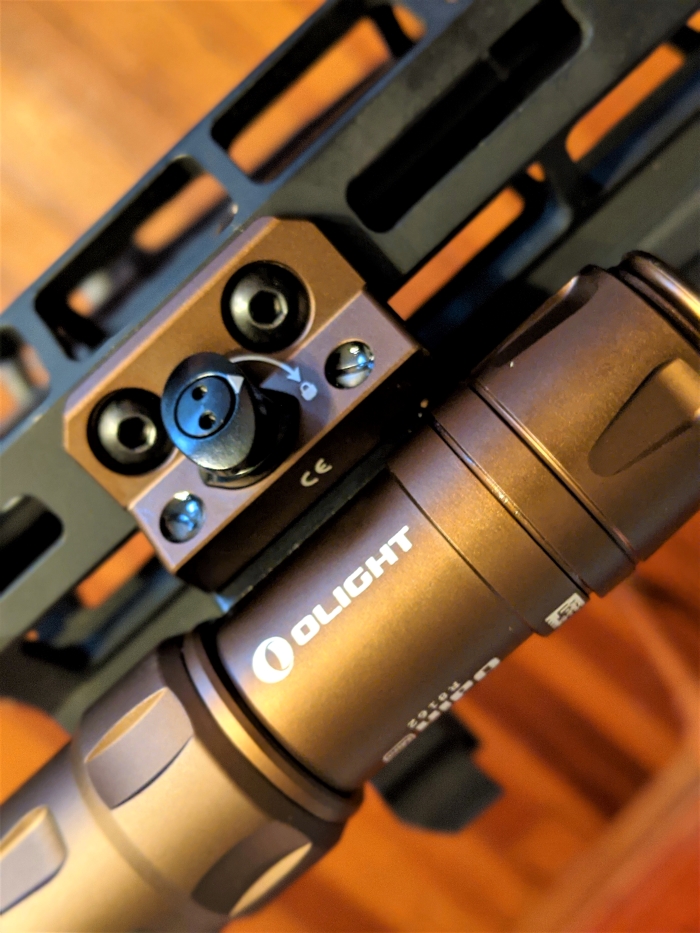
However, Olight was super enough to include a proprietary rail-mounted remote pressure switch pad that takes advantage of the magnetic tailcap of the Odin Mini…and it is pretty darned cool. Simply introduce the round end to the magnet on the back of the Odin Mini, and the magnet does its thing and snaps the tailcap to the body of the light and holds on. Lock the remote switch in place with a simple quick push on the lock collar and you’re done. The remote switch is secure and positive, easy to install and easy to remove so you can charge the light without removing the whole apparatus from the rail. It’s genius, pure and simple.
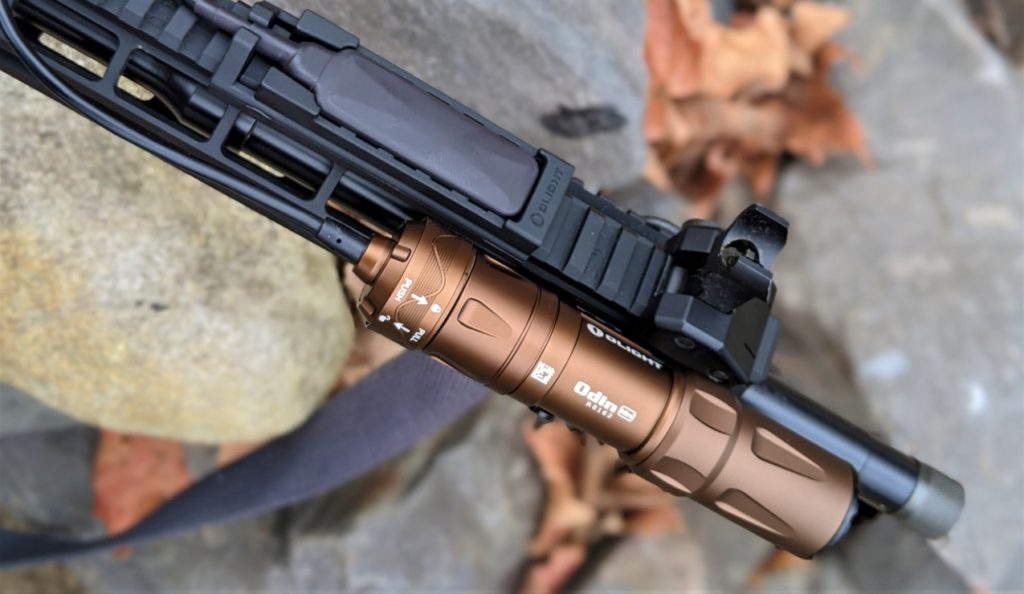
At the operator end of the remote switch, the pressure pad offers an integral system that mounts directly to a picatinny rail; simply line the mount up with the slots on your rifle’s rail and push it on. It’s that easy. The pressure switch offers momentary on/off by holding the switch down to turn the Olight Odin Mini on, and releasing it to turn the light off. Tapping the switch quickly will activate the Odin’s continuous-on mode; tap quickly to turn it off again. It’s all you need in a pressure switch – not too confusing under high stress environments, and useful without having too many features.
Keep in mind though: a lower, 200-lumen output is available by using the light without the remote pressure switch; the remote switch only activates the full-power 1,250 lumen mode.
Olight provided plenty of wire – about 9 inches – so the operator can enjoy some mounting location flexibility according to personal holds and needs. A pair of small cable ties will keep the wire snug to your handguard and not flopping around to catch on twigs or gear.
M-LOK Sliding Rail Mount
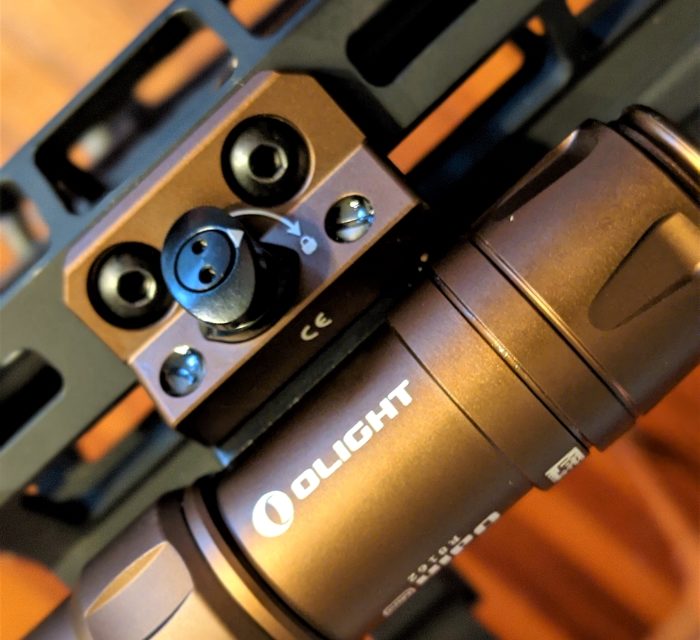
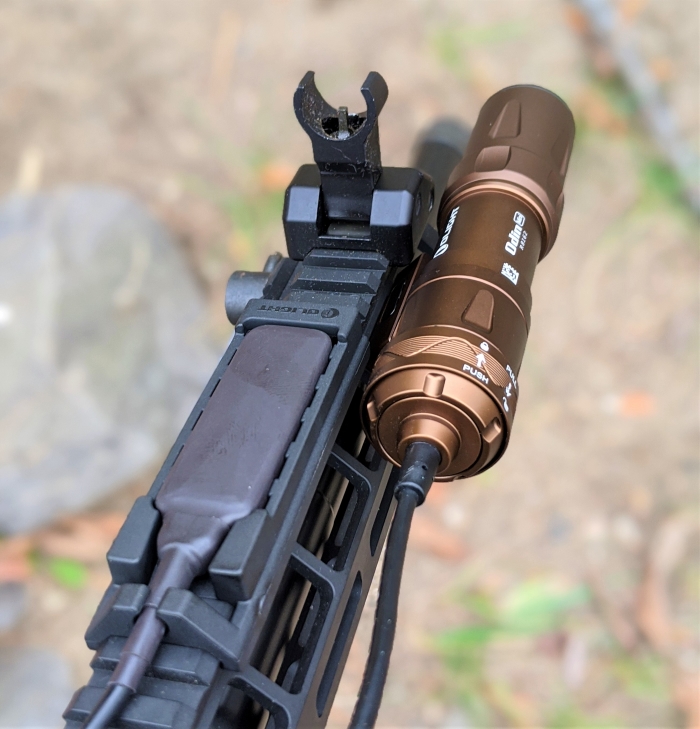
The next feature I really appreciated on the Odin Mini was its integral mounting setup. The body of the light proper has a permanently attached small machined stanchion. This stanchion slides smoothly into the M-LOK rail mount, which affixes to the handguard of your rifle’s M-LOK slots and locks securely. (have no fear if your rifle isn’t M-LOK compatible; picatinny adapters are available through Olight.) The mounted angle of the rail mount is such that it offers a standoff from the rail for clearance, but not so much that it drastically increases the profile of the rifle.
Detaching the light from the rail is as simple as turning the lock to its unlocked position, pushing the lock knob, and sliding the light out of the mount. This feature allows the user to bring the light itself to a charging station without taking the rifle out of the safe, or allowing the Olight Odin Mini to be used as a regular flashlight, independent of the rifle. The system is slick, positive, and well thought out.
(Re)Charging Capability
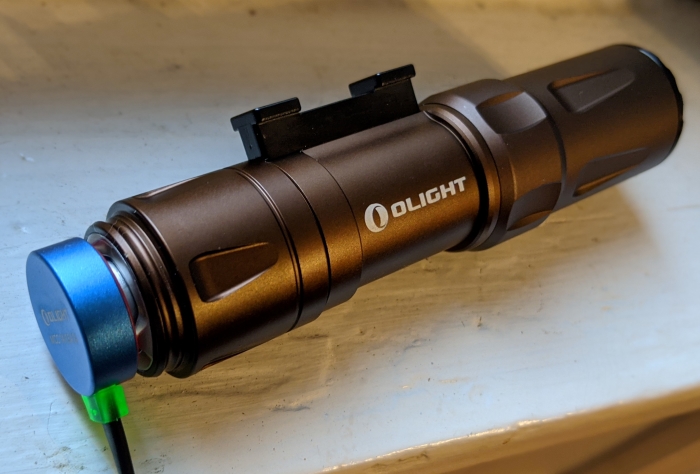
The Olight Odin Mini can be used with a not-so-standard 18500-sized battery (size-wise, think between a CR123A and an 18650 cell battery) of your choice, but comes with a 2,040 mAh Olight-branded rechargeable lithium-ion 18500 battery for you to use, right out of the box. I would definitely have a spare 18500 battery (or many more) kicking around for emergency use, but the Odin Mini’s recharging capability is secure and painless: insert the USB plug into your favorite wall charger or laptop USB port, and snap the magnetic charging cable’s round, blue-colored end right onto the back of the Odin Mini. The magnet holds the charging cable on reasonably securely, but if you need the light in a hurry, a quick grab and yank will separate the light from the cable, cleanly and without damage; a far cry from a light that uses an integral USB port to charge itself.
When the battery is dead, slapping the charger on the Odin Mini will require about three full hours to charge fully, provided you’re using a standard 5V 1.5A power supply. A full charge will run the light at its 1,250 lumen maximum output for 6 minutes, then the light will drop to lower outputs to keep the heat production down and battery life up. The lower-power steady 200 lumen output will stay on continuously for about 5 hours, assuming a fresh battery that’s fully charged.
The Olight Odin Mini in Action
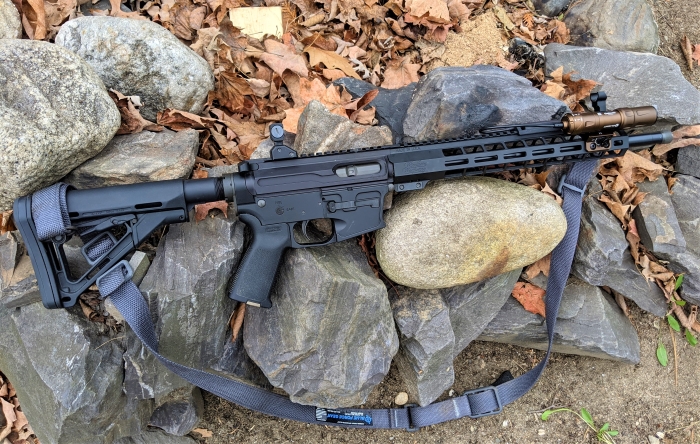
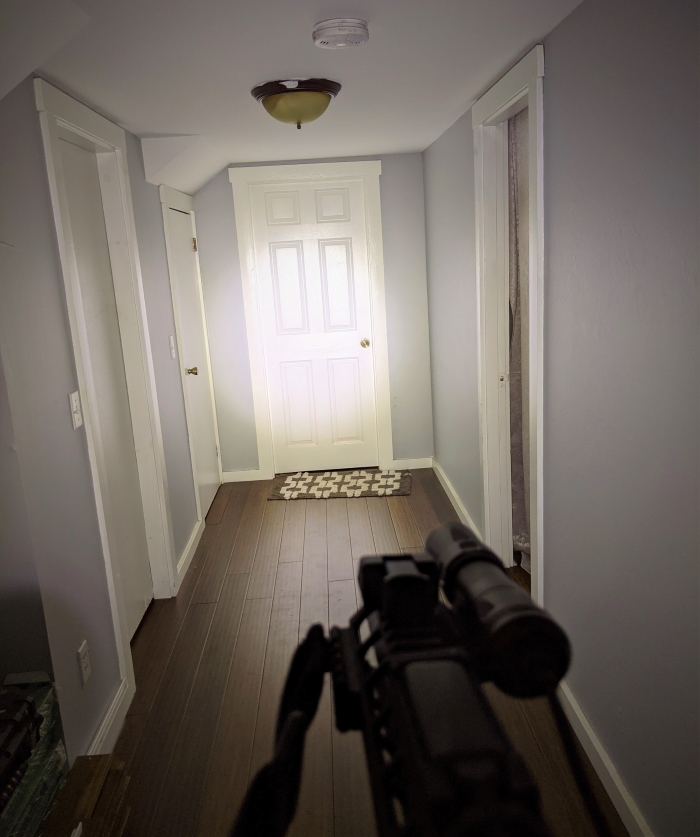
Due to quick turnaround time needed for the review, I sadly wasn’t able to take the light to a low-light carbine course to train with the light and put it through its paces, use it as you, dear reader, would expect to be using a weapon-mounted light. Instead, I ran the light mounted to a 9mm Windham Weaponry carbine and rocked the setup around the homestead.
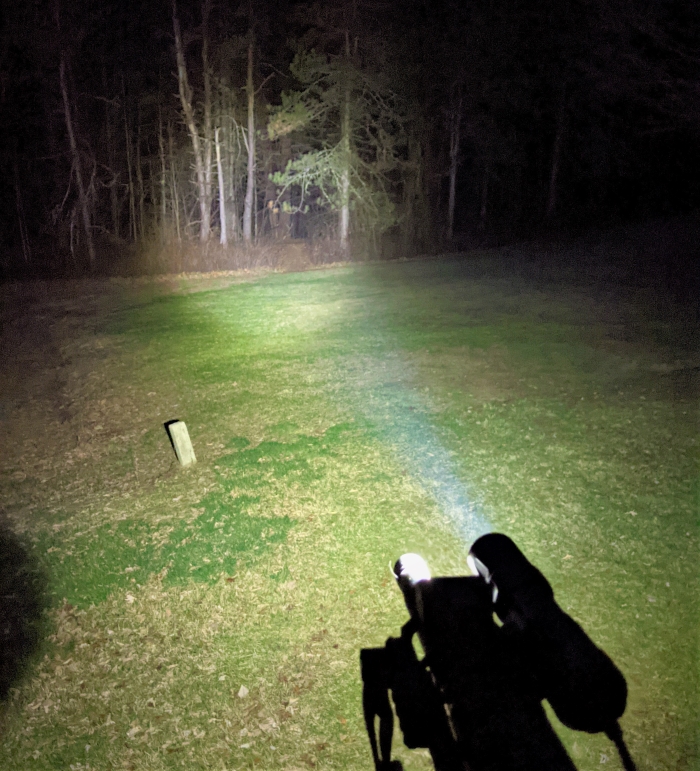
First and foremost: the output of this light is dazzling, and the hotspot of the beam is bright and wide. Seemingly a bit more devoted to lighting an area with efficiency rather than throwing a narrow, focused beam for miles, the Olight Odin Mini provides a hot spot of about 40” diameter at 25 feet. Across the backyard field at night, the light’s beam turned an area of about 20 feet across into day at a measured 40 yards. As a frame of reference, the light is advertised to project its photons to a distance of 240 meters – though I don’t think that definitive target identification would be 100% positive at that distance.
The remote pressure switch – located at the top forward portion of my carbine’s handguard – is sensitive to touch and was easily activated with a light touch, even with gloves on. Haptic feedback was good, and the switch was dimensionally large enough to easily find and activate in the dark – a bonus for a feature designed to activate a light when needed.
As a torture test, I tossed the light down a flight of stairs four times, each time the light landing on a hard tile floor with a “yeesh” inducing “CRACK!” With nary a resulting scratch, dent, fold, or mutilation, the light resolutely worked as designed with both the remote switch and the tailcap button. A day-long sink immersion proved to me the light gets wet really only on the outside.
The light itself , when removed from the mount, is a but chunky for a daily-use flashlight, but is perfectly serviceable when pressed into action as such. The tailcap button is easy to access and use – just like the Warrior Mini flashlight – and the rechargeable feature is simply a Godsend. No need to run out the door to escape the zombies with a dead weapon light – the Olight Odin Mini can be left on a charger in perpetuity with zero ill effects, leaving you to eradicate the hordes with a fully topped-off Olight. Keep a couple spare 18500 cell batteries in your bug-out kit and you are truly stylin’ for what might face you down the road.
The Olight Odin Mini doesn’t get terribly hot during long-term activation; many high-performance lights boasting thousands of lumens of output get warm enough to boil a pot of coffee it seems; even after ten minutes of continuous-on, the Olight Odin Mini is quite warm to the touch, but you won’t get burned. Perhaps it can double as a hand warmer for your wife in winter.
Wrapping It Up
The Olight Odin Mini is a masterpiece among WMLs; svelte, powerful, and refreshingly purposeful without being drowned in a cacophony of features. The entire package has been well thought out as a weapon light first and foremost; it’s not a standard tac-light with a new tailcap, haphazardly mounted on a afterthought rail with a 1″ scope mount. The entire package is designed to be part of your weapon system, with features meant to accentuate the operator’s access to a bright light, when needed, as expected.
Olight is quickly rising above the unwashed masses with an outright horde of innovative, proficient illumination solutions. Without hyperbole or bought-off used car salesman slime, I can honestly say that the Olight Odin Mini is the most properly-sorted dedicated long gun weapon light I have had the pleasure of using. I look forward to reporting back in the future after using this light long-term – keep an eye open down the road.


