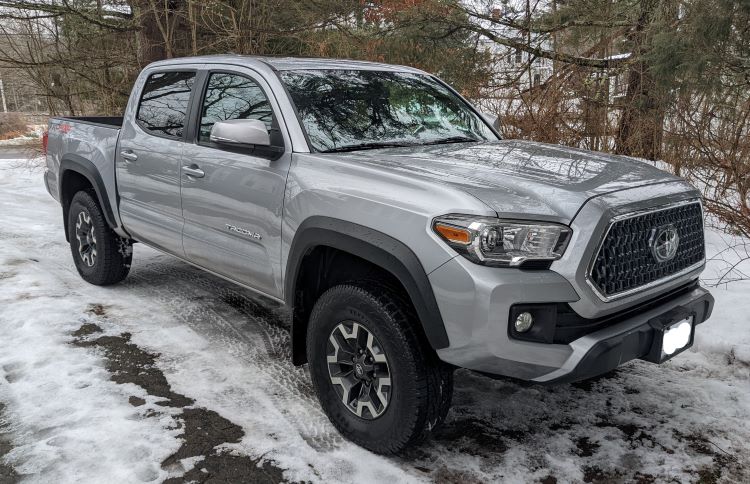
I recently sold my beloved 2014 Toyota 4Runner (see our Hotel Toyota article here) after owning it for a couple years. I dearly loved the 4Runner, but dang it – I need a truck. So I sold my 4Runner for way too much money and used the equity to purchase a new (to me) 2019 Toyota Tacoma TRD Off Road Premium – bone stock and low miles. It’s a perfect blank slate for an off-road, overlanding, hunting, fishing, and general going-to-hell rig.
Many of you may find yourself in the same situation I’m currently in: a brand new toy, and the itch to start modifying it to adapt the truck to my perceived needs. Also, “new truck” usually means “no play money” for a while, so I’ve been performing inexpensive mods and applications to my truck to make my user experience more enjoyable and hopefully prolonging the truck’s service life. While some of these may be Toyota-specific, my ideas can be a good starting point for any vehicle you want to mildly upgrade on the cheap. Here’s what I’ve done so far.
Fluid Filming The Undercarriage and Frame
Here in Maine, we have an unusually high vehicle attrition rate due to the use of salt on the roads to help combat icy and snowy roads. This road salt absolutely destroys cars – anything steel or aluminum that’s not appropriately treated can corrode breathtakingly fast.
There are lots of ways to combat this specific issue, but absolutely the best thing you can do is to get out ahead of it. My preferred method is frequent undercarriage washing, combined with a rustproofing or applied coating. In the past, I’ve used everything from spray-on undercoating to brush-applied used motor oil to varying degrees of success.
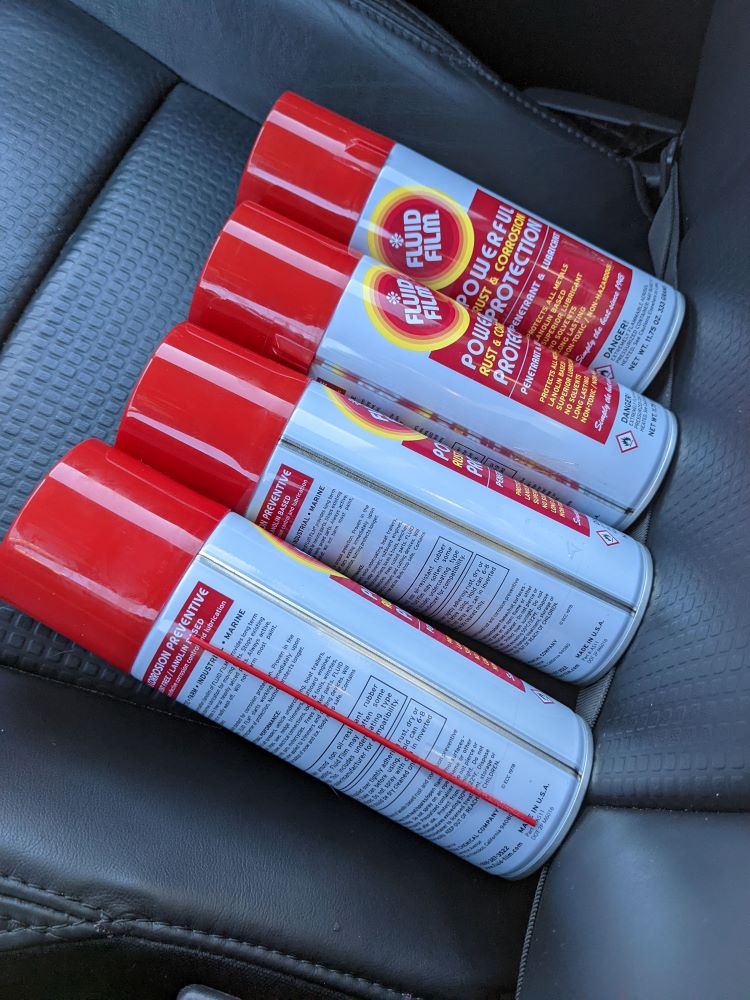
My new truck was starting from zero, so I decided to kick things off right with a product called Fluid Film. Fluid Film is a lanolin-based, all-natural lubricant and rust inhibitor that has legendary corrosion-combating attributes amongst the crews I run with. Fluid Film doesn’t last forever, especially in harsh road conditions and frequent undercarriage washings, so yearly re-applications are required. Fine with me as long as my frame doesn’t rust!
Fluid Film can be purchased in a few different forms and kits, but I went to my local auto parts store and purchased four aerosol cans of the product for a few cents over $50.00. I then drove to my local coin-operated car wash and got completely soaked crawling under the truck and pressure-washing the entire undercarriage to eradicate all contaminants and salt (it’s January here in Maine – winter is in full effect.) I drove the truck out of the wash bay and motored to a vacant spot in the sun behind the car wash to let the truck drip-dry.
After an hour or so, I shook up my cans of Fluid Film and started going to town on my Tacoma. The nozzle on the Fluid Film cans is directed to provide a stream instead of a wide-pattern spray, so I was able to really direct the jet of product into precise hard-to-reach areas. I absolutely plastered the undercarriage of my truck, focusing on the frame, control arms, suspension mounting points, and all brake and fuel lines. Three cans seemed to provide good coverage for my double cab short bed Tacoma; I’m keeping a can in reserve to apply to any places I’ve missed, or places I’d like to ensure get a doubled-up coating. Fluid Film spreads out via capillary action to cover a wide swath of substrate – so load it up on the underside of your truck and be confident that the Fluid Film will keep your truck’s underside safe from aberrant corrosion. Just remember to reapply every year or so for greatest effect.
LED Light Swap
While I believe the newer (2020 and up? Correct me if I’m wrong) Tacomas and 4Runners offer mostly LED lighting, my 2019 Tacoma still used incandescent bulbs on the entirety of the interior lighting, as well as all the headlights, tail lights, fog lights, backup lights, and plate lights. Having watched about a bazillion YouTube videos on Tacoma mods before I purchased my TRD Off Road, I knew that LED lighting upgrades were pretty much required.
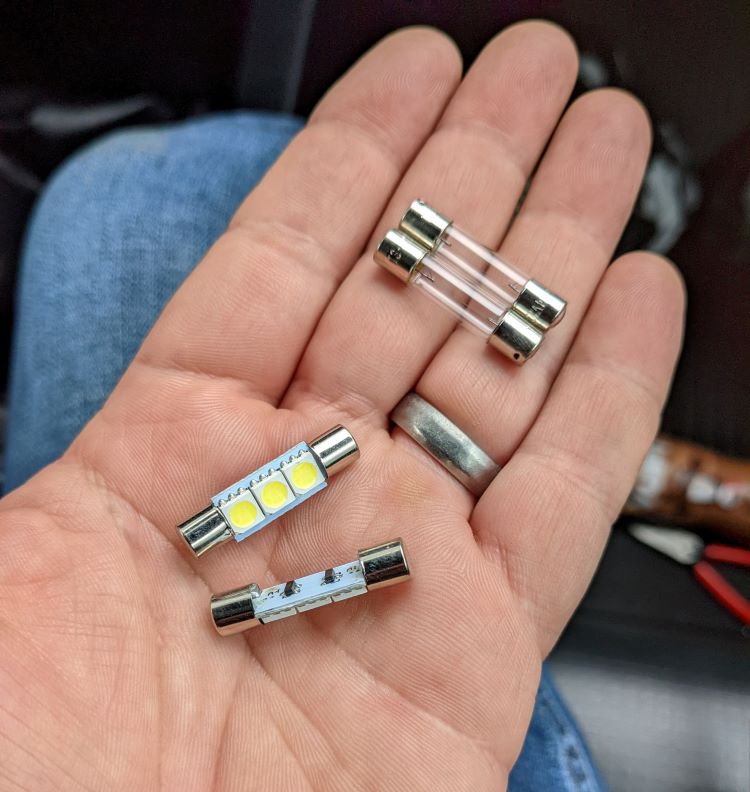
Not knowing what to expect and not wanting to spend a wife-fury-inducing amount of money, I decided to search on Amazon for cheap LED bulb upgrades to get a handle on what they offered. For the interior, I sourced a complete LED bulb kit from iBrightstar ($19.99). This kit included the overhead map dome lights and vanity mirror lights for both passenger and driver’s side, as well as plate light LED emitters and reverse/backup lights as well.
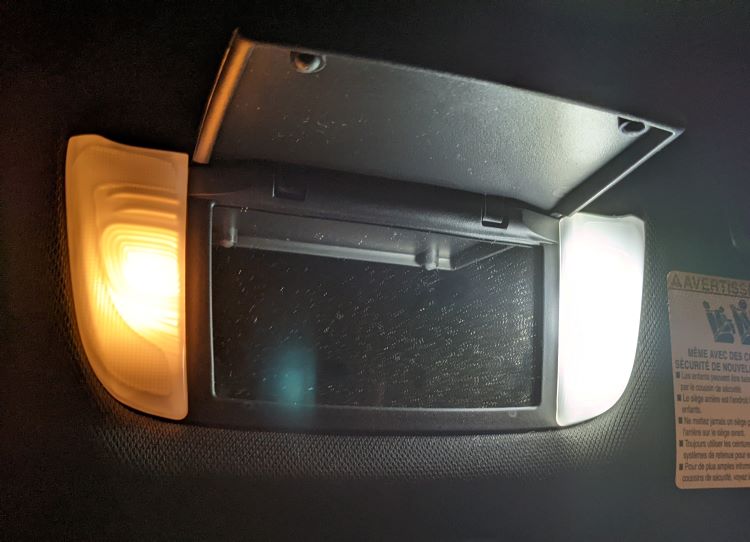
Installation on all the bulbs was relatively easy (the plate lights and map light bulbs required some head-scratching and YouTube references), but the illumination upgrade was 1000% worth the price tag and time invested. I did keep all the stock interior bulbs in case these el cheapo LEDs conk out early – but the improvement is so vast I’d likely just go online and pay a few extra bucks for a higher-end bulb kit.
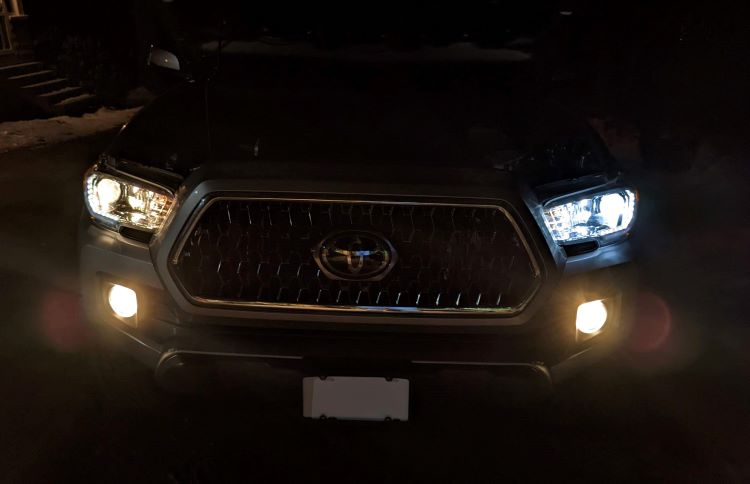
Up front, I purchased 14,000 lumen 6000k white LED headlight low-beam bulbs from SEALIGHT on Amazon ($39.99 for the pair). Installation was brilliantly easy (pun intended.). Unlike other vehicles I’ve worked on, the Tacoma was designed to be worked on it seems; I was able to access the headlights from the engine bay with zero hassle. The lights were a quick direct replacement plug-and-play setup; they even came with small zip-ties to help manage the longer tails of the LED bulbs. Very nice.
The foglights were replaced in a similar fashion (again, easily accessed from the top of the engine compartment) with a set of JDM ASTAR bright amber colored LED emitters ($24.99 for the pair). These LED bulbs include a projector lens up front to really get those fog lights doing some work.
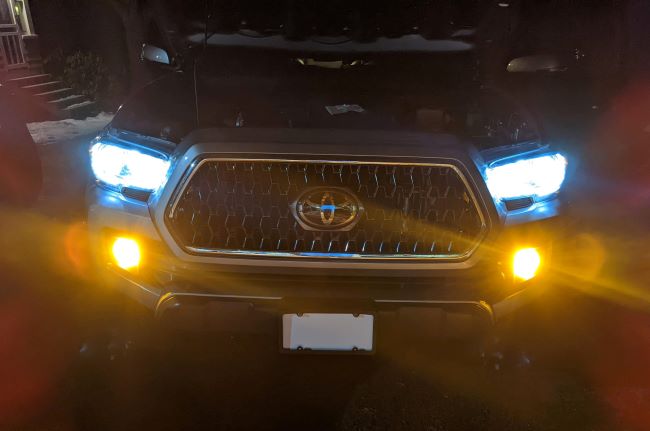
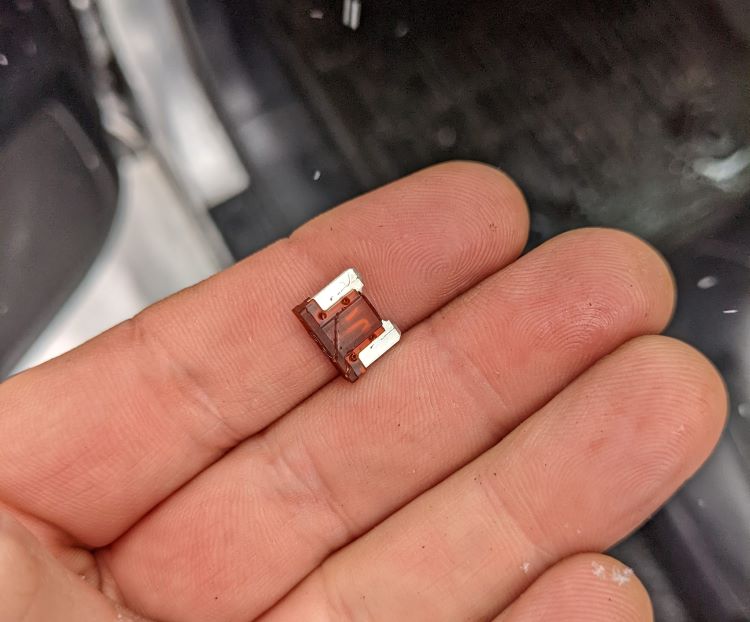
The total time investment I had in replacing the low beam bulbs and fog light bulls was about ten minutes in the dark with a headlamp. Super easy process, with excellent results: the new LED bulbs offer incredible light clarity with improved throw; the bright true white of the headlights really helps discern shapes and shadows on dark, snowy roads. Great upgrades all around for under $100 and about an hour of your time to convert all your lighting to LED. Just be sure to have some fuses on hand; I did pop a dome light fuse when changing my vanity light bulbs – the Tacoma uses wonky Toyota-specific fuses that I didn’t seem to have in stock.
Center Console Organizing Tray
If you’re like me, the center console of your Toyota can kinda become a catch-all dump for gear. Mine, after just two weeks, held a compass, a couple cigarette lighters, seat belt cutter, small first aid kit, a bunch of different USB cords, Mechanix gloves, tooth flossers, chapstick, extra sunglasses, a bunch of change – and that’s just off the top of my head. To help tame this mess, I bought a simple tray organizer that sits right in the top of the console opening, providing you with a few areas to keep essential gear organized and easy to find.
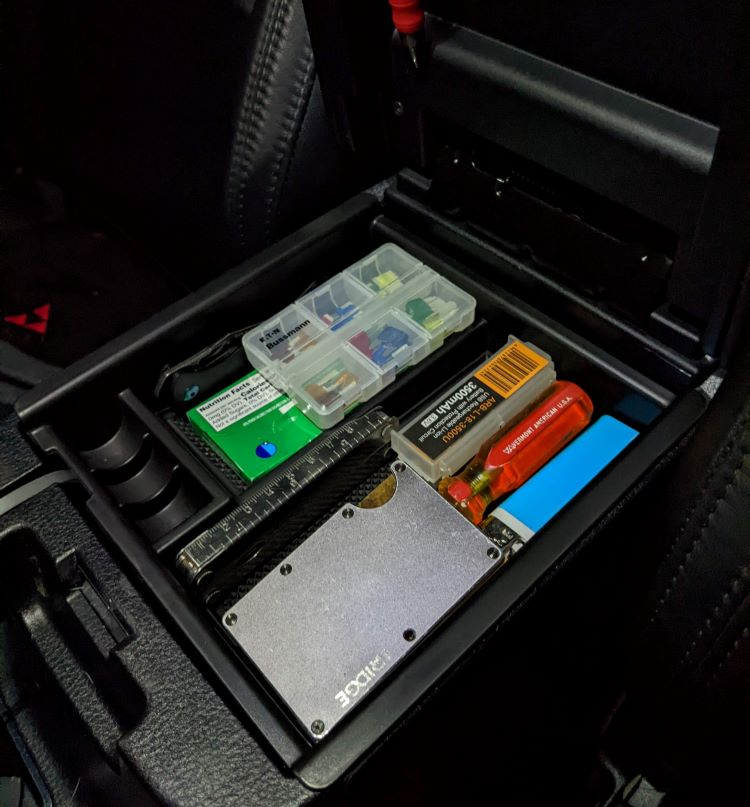
Mine came from Amazon again, a JDMCAR unit that set me back all of $11.99 in black color. Now I have a place for my spare change, my wallet, gum, extra carry gun magazines, spare pocket knife – or anything else I deem needing to be readily accessible. Zero effort, maximum effect.
Building a Vehicle-Specific Tool Kit
Being a shade-tree mechanic of sorts, I’m never one to shy away from attempting repairs when the vehicle breaks down. Where the Tacoma has notoriously limited interior carrying capacity for tools and assorted gear, I took the idea of Doc Montana’s Toyota Tacoma tool kit and adapted it for my basic needs, knowing I needed to keep everything stowed away using the Tacoma’s interior under-and-behind-rear-seat storage areas. This truck is used for family and canine hauling frequently, and I didn’t want tools flying around the interior in case of an accident or rollover.
While I’m still working at building a comprehensive kit that will fit in the designated areas (I’ll write an article when completed), I will say that the kit will definitely include a spare serpentine belt, fuel filter, basic hand tools, a breaker bar and assorted deep sockets, penetrating oil, electrical diagnostics gear, and an assortment of spare parts like hose clamps, wire, zip ties, JB Weld, a tire plug kit, bulbs, blinker fluid, and muffler bearings.
Upgrading the Plumage
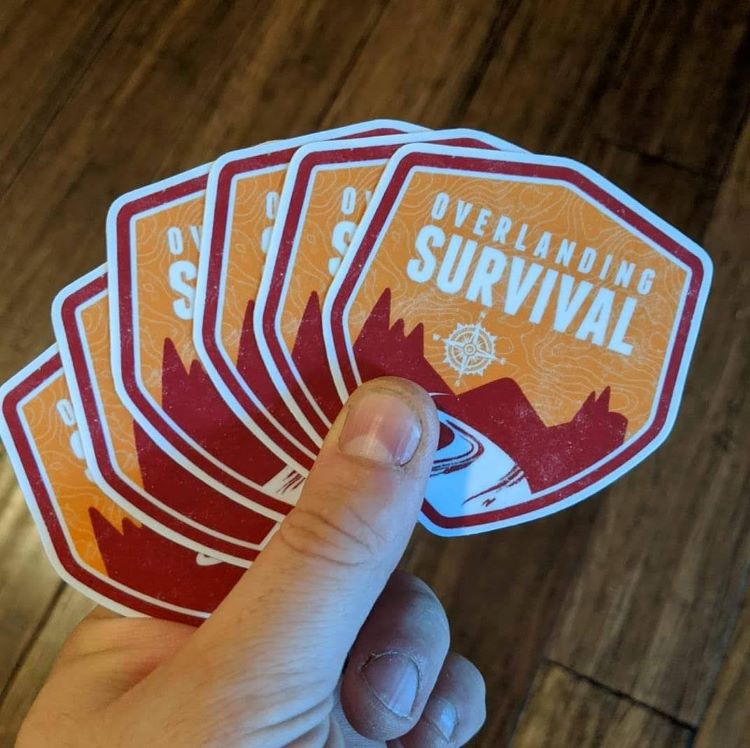
While the TRD Off-Road certainly has lovely decals from the factory that seems to be a love-or-hate item, there’s no saying you can’t accentuate. We recommend the precise and caring installation of your own Overlanding Survival sticker on your Tacoma (email me for a free sticker – drew(at)forgesolutions.us), but be sure to personalize your rig the way you like it. Keep it clean or throw a bazillion Punisher skulls and Salt Life stickers on your Taco (or whatever you drive!). We don’t care – we just want to see your rig the way you like it out on the trails!
Okay, I know some of these suggestions really aren’t “mods” per se, but they’re all suggested in the goal of you getting out there, working on your truck, getting to know it first-hand. When you make your truck your own, you meld with it, fall in love with it, and enjoy every second you have with it, whether riding in comfort with the heated seats on in a cold winter’s day, or digging the tires out of the sand when crawl mode won’t get you out. Get out there and make that rig yours!